Glassware is prevalent in most American kitchens, from wine glasses to tumblers and glass food storage containers. It can be notoriously difficult to pack and move these items without breaking them. And the last thing we want to experience while unpacking is a box full of shards of glass.
In this article, I’m going to cover the best methods for packing your glassware to ensure minimal (ideally zero!) breakage and safe transit to your new home.
Table of Contents
Step 1: Use Small Boxes
Using a small box for packing your breakable glassware may not seem very efficient. But it helps to minimize empty spaces between items, also minimizing movement of the items within the box during transit.
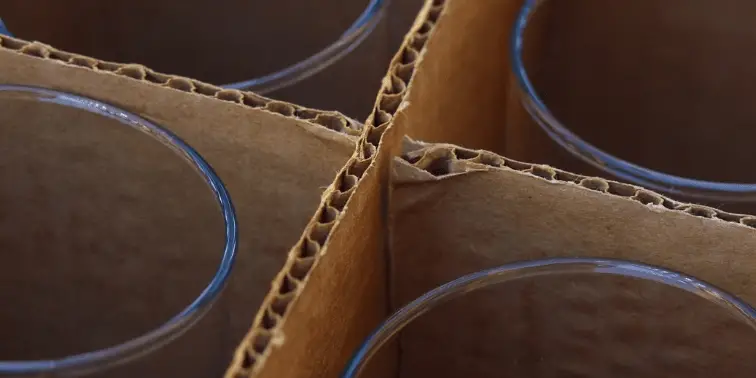
There are specially-made boxes for glassware that are compact, with cardboard inserts to provide separation and impact protection between your glass items.
If you’re going to spend any “extra” money outside of just your normal boxes, tape and markers – a glassware box is one of the two places I think it’s absolutely worth spending the money. (The other being a specialty box for moving a TV)

You can really splurge and get a reusable box for your wine glasses (especially great if you move quite a bit like we do), but at the very least spend a few a bucks to get some glassware dividers that you can use in almost any type of moving box. If you value your glassware at all, it will end up being one of the best ten bucks you’ve ever spent.
Step 2: Prep The Boxes
For this step, you’ll need some kind of padding or protective material to line the sides and bottom of your boxes. Bubble wrap works well for this task. You could also use packing paper or some old towels you may have on hand. Do not use newspaper! The ink can end up bleeding onto your glassware.
Lay the material all along the bottom of your box, as well as against the side walls. This will give extra protection to your items, so they don’t bump against the rigid sides of the box and potentially break. Empty space is your enemy when it comes packing glassware.
Step 3: Wrap Your Glassware
The next step is to take each individual piece of glassware and wrap it thoroughly with more protective material. You can use bubble wrap, packing paper, cloths or even plastic grocery bags if you have a large amount on hand.
Be sure to stuff the insides of your glasses or hollow dishes with the material as well as wrapping the outside. If your glassware has stems, such as wine glasses, double or triple wrap them. The stems are especially prone to breakage because they’re long and thin.
Don’t skimp on the wrapping in this step! The more care you take with this step, the less likely it will be that your items will knock together during transit.
Step 4: Pack Your Glassware
Next, if you have dividers, you’ll place each glass into it’s own individual space. Make sure there is not space for the glass to shift around, but you also don’t need to go overboard to where you have to cram it into the space. If you give the box a little shake and nothing moves then you’re good.
If you don’t have dividers, you’ll take your carefully-wrapped glassware items and lay them in a single layer on the bottom of the box. If you want to be extra careful, you can ball up more paper or material to fill in the gaps between items.
If you want to add another layer of items to a single box, try using a sheet of cardboard between the top and bottom layer. This will prevent the layers from clinking together when the box is moved.
Step 5: Protect the Top
Before you tape up the box and call it done, add a final layer of protective material on top of your items. Not to sound like a broken record here, but the less empty space there is in the box, the better. Ideally, you’ll want the material to sit level with the top of the side walls of the box.

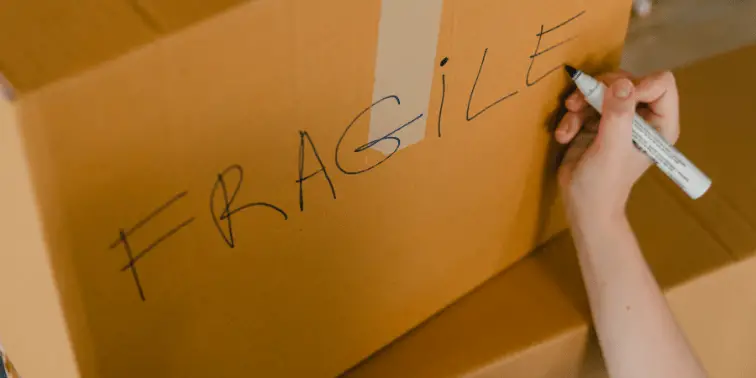
Once that’s finished, use some heavy-duty packing tape and seal the box completely. Then, label the box appropriately and mark the box as FRAGILE with a thick permanent marker. This will let your movers know that they need to be particularly careful with this box.
Also, don’t forget to mark the box with where it’s going. Kitchen, Family Room, Bathroom 2… you get the idea. The more specific you can be with where the box is going the easier you’ll make your life when you get to your new home.
Finally, it will also be helpful to label which side of the box is UP so that it won’t accidently be turned upside down during moving.
Step 6: Repeat as Necessary
Repeat the above 5 steps until you have all your glassware safely packed up. Remember to try and box similarly sized items together. This will help prevent heavier items from crushing lighter ones. If you have to pack unevenly sized items together, put heavier items on the bottom of the box.
Final Thoughts
Packing glassware for moving takes time, patience, and a lot of wrapping to pack safely for transit. But all the effort is worth getting your priceless valuables to your new home in one piece. Follow the steps listed above to ensure the best possible outcome for your moving experience with glassware.


