Packing silverware can be a snapping point for some while packing for a move. It can be time-consuming, tedious, and you are never really sure if you are doing it right. And really, the silverware is only one part of the entire kitchen, which also needs to pack up and move out.
There are many ways to pack silverware, and this article is not the only way you can do it. You might have a time-tested process that never fails and impresses your friends, but I’m guessing if you’re here reading this that’s not the case.
So, if you need some guidance and a little inspiration, here are some tips and techniques that we have used to pack silverware over many years of moves that have served us well.
Table of Contents
Packing Silverware Checklist

Let’s not complicate things. Essentially, you need to complete the following steps:
- Remove silverware from the drawer
- Wrap silverware and safely store it in boxes or containers
- Label the boxes or containers
- Move the boxes or containers from point A to B
However, packing silverware can be underestimated. Packing for a move can be stressful, and the kitchen can hold so many tiny, sharp objects in weird shapes.
Make a plan for the silverware early in your packing journey. You might even want to consider packing up the silverware first, leaving a small set of knives, forks, and spoons to use for the duration of the process. You will have to avoid having guests over for dinner for the time being, but that’s a small price to pay.
In fact, we usually use plastic silverware (and paper plates) for about the last three to five days after our last pieces of silverware are packed. There’s an odd, but cool, feeling that you’re camping out in your own house those last couple of days.
Now let’s talk about some practical ways to pack your silverware and hopefully make the process easier for you.
Tools of the Trade
Ensure that you are fully stocked with the necessary packing materials beforehand. Otherwise, your progress will shut down if you are missing an item. These are all items you probably already have well stocked if you’re preparing for a move.
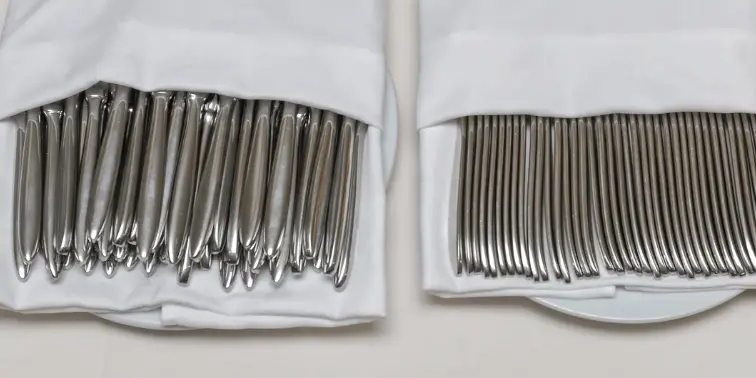
The lone exception is probably the fabric container. We got one of these a few moves back and it’s a game changer. Makes transporting super easy, especially with the handles on both sides. It’s basically a silverware tray with padded sides to keep everything securely cushioned during the move.
If you opt for a ready-made silverware tray like this, all you’ll have to do is fill the empty spaces with packing paper and you’re all set. Not a bad deal for less than a $20 investment.
If you’re going the more DIY route, here are the packing materials you’ll need.
Items to Procure:
- Packing Tape
- Small Moving Box
- Packing Paper, Tissue Paper and/or Bubble Wrap (not newspaper!)
- Fabric Container with Lid
 (pictured above – optional)
 - Permanent Marker
Now that you have the supplies needed – the fun can begin.
Pro Tip: Concentrated in one place, all of that silverware can be heavy. Double check the weight of your container as you add more pieces to it. This is one of the reasons why we suggest using a small box.
If you’d like our complete list of moving supplies essentials, be sure to check out our Moving Supplies Buying Guide .
.
Take Out Everything and Group Silverware Together

Layout a towel, blanket or thick cloth on the counter or kitchen table to take inventory of your silverware.
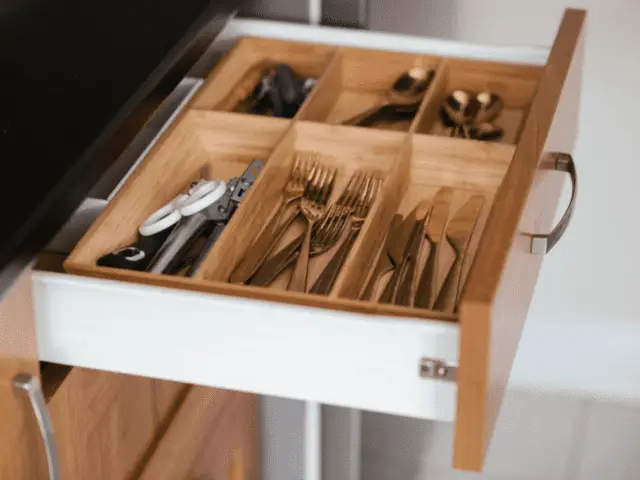
Remove all of the silverware from the cutlery tray (or wherever you store them) and place them on a covered surface. Technically, this step is not needed. You can start wrapping your silverware directly from the drawer. However, spreading everything out on a flat surface will help you get a bird’s-eye view.
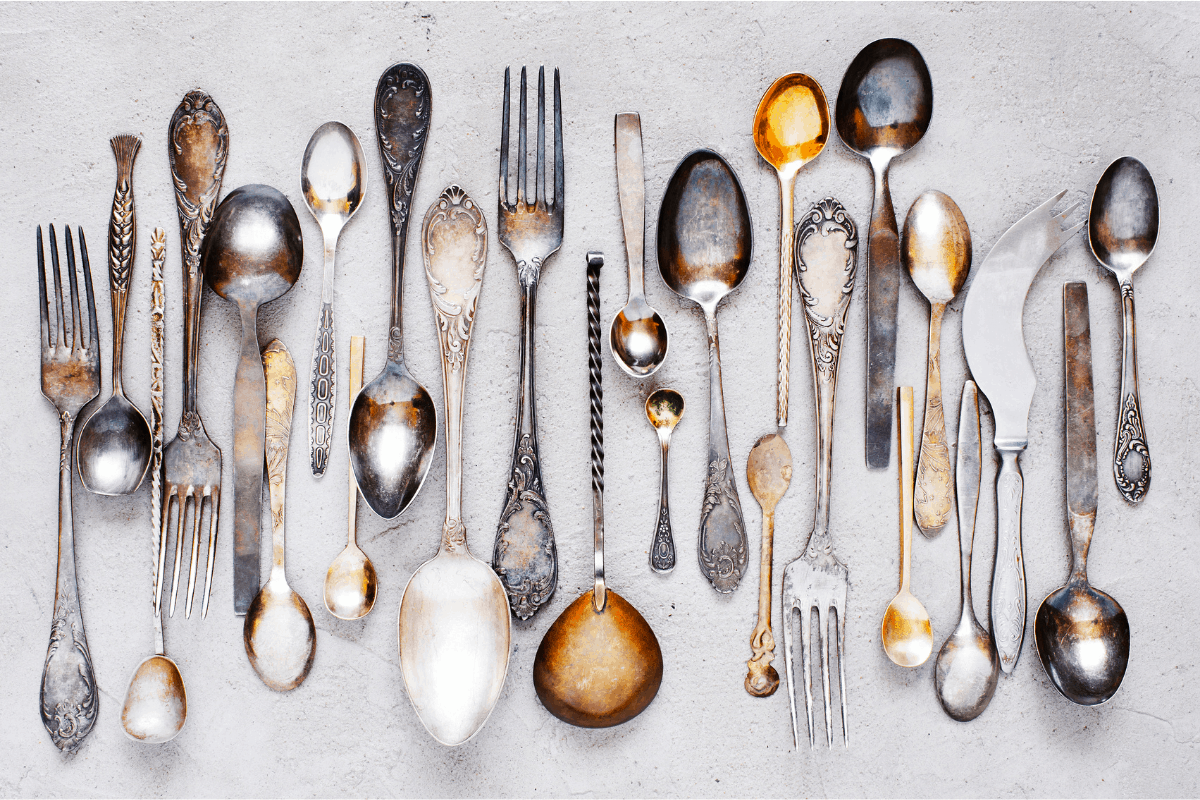
Begin separating the different types, grouping the silverware by item – forks with forks, spoons with spoons, knives with knives, etc.
Grab the spatulas, ladles, and wooden spoons and bring them to the table as well.
Wrap the Silverware with Packing Paper
Add some crushed packing paper or bubble wrap to the bottom of your box to create an extra layer of padding.
Grab a handful of spoons and stack them on top of each other. Wrap the silverware in packing paper and then secure it in place with a piece of packing tape. You want to make sure the pieces stay securely bundled together.
Place them in the box. Do this with all of your forks, knives, and any other items until you are finished.
Pro Tip: If the silverware is not fancy (not sterling silver pieces and definitely not a family heirloom set) and you have run out of packing paper, use some old t-shirt, a large towel, or other pieces of clothing. Just make sure the clothes are clean! Essentially, cutlery is wrapped to ensure it is contained and not damaged during the move. Most soft materials are usable.
Other pieces of paper are fine as well, but avoid using any paper with ink, like a newspaper. (Newspaper ink is acidic and can damage your silver pieces.)
If you are packing knives in a knife block, leave the knives in there. Wrap the knife block in packing paper and plastic wrap to hold the knives in place.
Once you have everything properly wrapped and in the box, fill in the remaining empty space with more packing paper. This will ensure that everything stays in place and your kitchen utensils don’t jostle around inside the box.
Finally, tape the boxes well with packing tape at the top and bottom, and you are nearly there!
Label the Boxes or Containers

Be nice to your future self and be as descriptive as possible. Whether your movers are your friends or professional movers, the labeling will help them as well.
During a move, you want to reduce the need for extra decision-making. You might have more than one box for silverware and other kitchen items.
A box that is labeled “silverware” gets the job done, but the box that tells you all of the contents is something that will make you pat yourself on the back when you are sweaty, tired, and still marveling at all the boxes left to unpack.
Whichever box has knives, whether sharp or dull, be sure to label with large letters clearly. Not in a ridiculous kind of way. You don’t want to scare your new neighbors if the boxes have the words “KNIVES” written in giant letters on the box.
If you used a fabric container, you might not want to use a permanent marker to write the contents unless you plan to use it for the same purpose again. (We’ve not marked on ours)
Instead, label the contents on a piece of paper and tape that on the box instead.
Labeling the boxes can be done however makes sense to you.
One Spoon at a Time
The process required to pack silverware can seem like one of the biggest hassles of packing up the kitchen. There are so many sharp and pointy pieces to move safely. Depending on the amount of silverware you have, it might seem like a daunting part of the kitchen packing process.
Break the task of moving silverware into smaller jobs and focus only on what’s necessary. Proper planning, materials, and organization can drastically reduce any issues with how to pack silverware for moving.


