Your crystal chandelier is probably one of the most beautiful and most expensive centerpieces in your home. This ornate light fixture may even carry sentimental value, which makes it even more precious.
The process of moving such an invaluable object can be quite challenging.
In fact, removing your chandelier (especially if wiring and electricity is involved) is something you want to seriously consider hiring a professional. However, if you are set on DIY’ing this task, I’m here to help as much as I possibly can.
In this article, I’ll provide a list of the necessary packing material as well as a step-by-step guide on how to pack a crystal chandelier for moving. So, stick around!
Table of Contents
Step 1: Prepare the Necessary Packing Materials
You’ll need to prepare the necessary packing materials to ensure that your crystal chandelier doesn’t get damaged during the moving process.
You’ll need:
- A pre-measured sturdy corrugated box
- Extra cardboard boxes for any detached elements and light bulbs
- A step-ladder
- A circuit tester
- A pair of pliers and a screwdriver
- Bubble wrap
- Packing paper or newspaper
- Packing peanuts
- Packing tape
- Foam padding or moving blankets
- A few zip lock plastic bags
- Twist ties
- Permanent marker
Now that you’ve obtained the necessary packing materials, you should consider having someone on hand to assist you.
While you can pack the chandelier by yourself, you can finish the job much faster and easier if you have someone to help you.
Step 2: Cut Off the Electricity to the Room

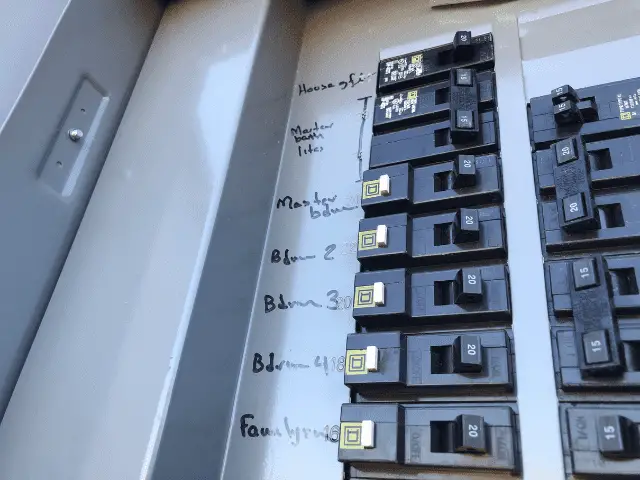
The first thing that you should do is cut off the electricity to the room from the main fuse box. This step is crucial to avoid electric shock when removing the chandelier. This can also prevent the bulbs from bursting.
What’s more, you should allow the chandelier’s light bulbs to cool down if it’s just been on a second ago.
Step 3: Remove the Chandelier From the Ceiling
Start by spreading a moving blanket or a towel on the floor. Then, position your step-ladder slightly to the side of the chandelier. This way, you can easily see and reach the chandelier’s base that connects to the ceiling.
For this step, you may need some assistance. Have someone step up on another ladder and support the chandelier’s weight. This should ensure that the wires in the ceiling don’t get pulled or damaged.
Lower the chandelier’s base and use a circuit tester to make sure one final time that all wires are dead.
Next, carefully pull the wires from the ceiling into view. Depending on the type of wiring, you’ll either need to unhook the wire nuts or turn them counterclockwise to remove them.
Untangle the ceiling wires from the chandelier’s wires, then gently lower the chandelier to the floor.
If you don’t feel confident disconnecting the chandelier from the electrical network, you should call an electrician to do it for you.
Step 4: Dismantle the Chandelier

After you’ve taken the chandelier down, bundle the wires and cables together and secure them with twist ties. Then, you’ll need to dismantle the chandelier and wrap each part individually.
Start by taking out the light bulbs and placing them into their original boxes. If you don’t have the original boxes, you can wrap the light bulbs in packing paper and bubble wrap separately. After you’ve taken out the light bulbs and wrapped them, arrange them in a cardboard box.
Next, use the screwdriver and pliers to detach any removable pieces, such as the arms, crystals, glass chains, ornaments, lampshades, or candle cups.
Each detachable piece should be wrapped individually with packing paper and secured with tape. Wrap it again with bubble wrap for added protection. Then, place the wrapped pieces in a cardboard box.
Place any screws, nuts, or any fastening elements in a zip-lock plastic bag.
Step 5: Pack the Chandelier
Now that the chandelier is ready, it’s time to prepare the box in which it’s going to be transported.
First, reinforce the pre-measured sturdy corrugated box’s bottom with packing tape as an extra precautionary measure.
Place one foam padding on the bottom of the box. Then, slowly and gently lower the chandelier upright in the box. Once it’s inside, stuff the box with as much packing peanuts and pieces of crumpled paper. Make sure that you fill any empty space around the chandelier.
Next, put a layer of bubble wrap on top of the chandelier and cover it with another piece of foam padding. Close the box’s lid, then gently shake the box.
If you hear or feel any shifting inside, you need to add more padding materials to ensure that the chandelier doesn’t move at all.
Once you make sure that the chandelier isn’t going to move inside the box, close the lid and seal it with packing tape. Take the permanent marker and label your box “Chandelier,” “Fragile,” and “This Side Up.”
You should repeat this process with the other boxes.
After you load the chandelier in the moving car or truck, make sure that you don’t stack any other boxes on top of the chandelier box. You can even cover the top of the box with a moving blanket for extra protection.
In Conclusion
There’s no doubt that packing and moving a crystal chandelier is a delicate process, especially if it’s an heirloom.
It’s totally normal if you find yourself unsure of how to properly dismantle and securely pack the crystal chandelier by yourself. You can always just hire a professional moving company to take care of this task for you.
Most moving companies come prepared with the necessary tools, materials, and know-how to pack crystal and other fragile items efficiently and safely.


