The kitchen might be the worst room in the house to pack up when it’s time to move; it’s full of oddly-shaped things that are often breakable and full of easily lost removable parts. While you may need to be a little more precise when packing kitchen appliances than when packing other items like, say, books – it’s nothing to be intimidated by.
With some extra care and a few simple steps, packing up your appliances will be a breeze.
Table of Contents
Sort by Frequency of Use
You probably don’t use every kitchen appliance the same amount. Maybe you make toast every morning but only use the food processor when cooking a big family dinner; maybe your coffee maker never turns off but the kettle has been collecting dust for a few weeks.
Figure out which appliances are used the most and the least in your kitchen, and sort them accordingly. This will allow you to pack up the things you use every day at the last minute and unpack them as soon as you arrive at your new home, while the less-used items can be packed early and not unpacked until you have time and space for them.
Prep the Appliances

Before you even get out the packing material, make sure your appliances are all prepped.
We know you don’t leave dirty dishes around your kitchen (or maybe you do – we’re not here to judge), but lots of appliances get dirty with use in a way that we don’t clean regularly. Toasters collect crumbs that we can normally ignore, and small stains or coffee grounds are common around the base of a coffee maker.
Thoroughly cleaning your appliances is one of the first things you should do before starting to pack them up. Moving boxes full of food waste, even tiny amounts, just isn’t a good idea. Plus, you will feel much better about your new start when you reach your destination with your belongings as clean as possible.
Disassemble Them
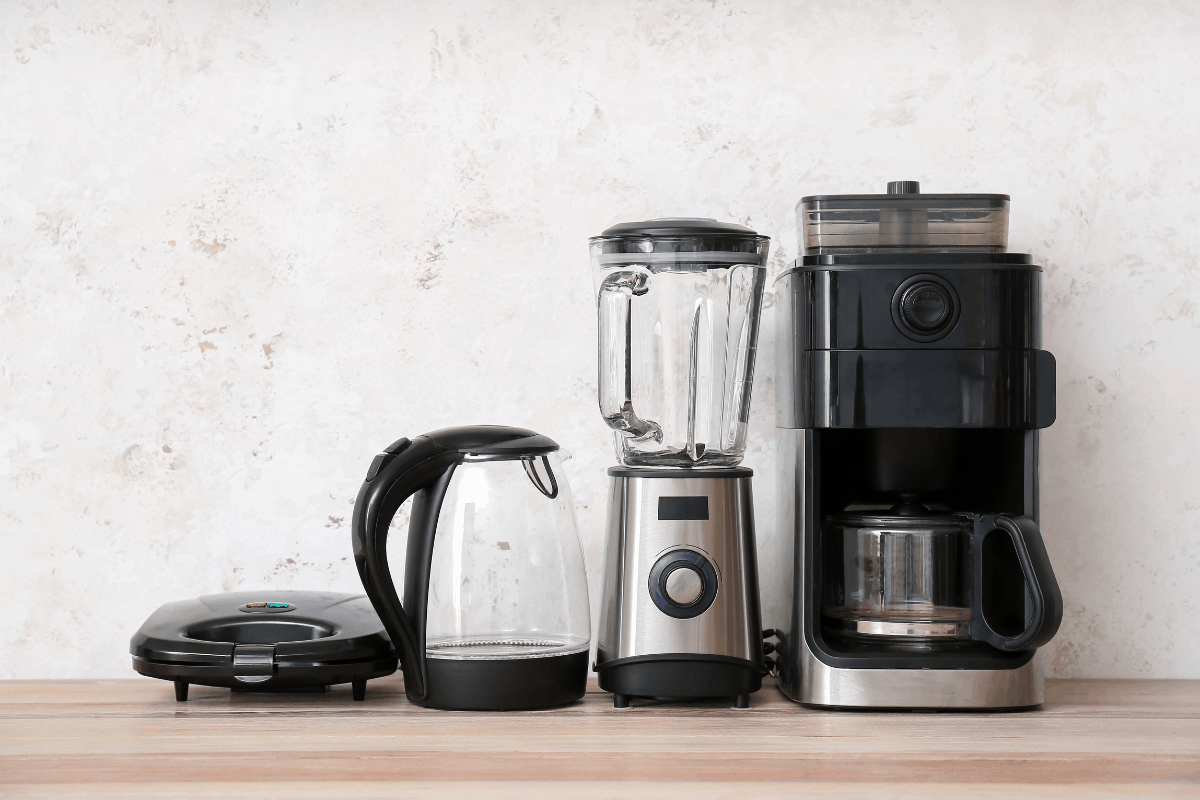
Many kitchen appliances have loose pieces or removable parts. For safety reasons, as well as to protect them from damage, you should remove anything you can and pack everything as individual items. This means that microwave trays, blender and food processor blades, and coffee pots should be removed from the main part of the appliance.
It’s generally pretty straightforward to put kitchen appliances back together, but if you’re worried about that, you can always take pictures or notes to help your future, unpacking self. (Bonus points if you saved the manual and don’t need to re-write assembly instructions.)
A Special Note for Disassembling Over-the-Range Microwaves
Microwaves that are installed over the stove in place of a range hood are slightly more complicated than appliances that only have one job to do. You will probably need to unscrew it, disengage it from the mounting plate, and potentially do some troubleshooting if it won’t come off right away.
Every over-the-range microwave is a little different, so it helps to have the product-specific instructions and a friend nearby to lend a hand.
To pack small kitchen appliances, you’ll need:
- Boxes
- Packing paper, bubble wrap, or Styrofoam
- Packing tape and markers
If you saved the original packaging from any of your appliances, that will be the easiest way to pack them for moving. You can just fit the pieces back into the custom Styrofoam or other packing material, slide it back into the box, and re-tape it up. (Your spouse will never yell at your for being a pack rat ever again!)
However, since most people don’t save the packaging from everything, we know you’ll probably have to figure it out yourself.
Just get a box that is as close as possible in size to the appliance (but err on the side of slightly big). It’s fine if you can fit all the components from one appliance into the same box, but we don’t recommend using bigger boxes to fit a ton of appliances together; that’s just a recipe for unnecessary damage.
Wrap, Tape, Box, and Label

It’s finally time to put everything together!
Nicely coil the unplugged appliance cords, wrap them in paper or bubble wrap to prevent scratching, and tape them to the main piece of the appliance. Use tape to secure any doors or lids that you weren’t able to remove.
Line the box with paper, bubble wrap, or foam peanuts before putting the appliance or appliance pieces in. Fill the gaps with extra packing material until you can gently shake the box without rattling the contents around. Then add a final layer of packing material between the appliance and top of the box, close it up, and tape it shut.
Label the boxes with the room they’ll be going in (in this case, “kitchen”), individual contents, and, if you don’t think you’ll remember the groups you sorted earlier, frequency of use. Mark all appliance boxes “fragile” and note which way is up.
That’s It!
These are all the things you need to do to pack up small kitchen appliances. You may have noticed that we didn’t talk about bigger appliances, like refrigerators, but that’s a totally different process that warrants its own article. For now, we hope you feel confident and prepared to pack most of the things in your kitchen.
Good Luck with your move!


