We all know that moving can be hectic. The list of tasks to complete leading up to the move is seemingly endless, and the pressure can send even the most even-keeled among us into a state of stress-induced panic. The process of packing up all your worldly possessions can seem particularly daunting.
You may be concerned about fragile items breaking, forgetting to pack something from a rarely used closet, or having something go missing during the move. One of the biggest concerns is misplacing or damaging vital paperwork.
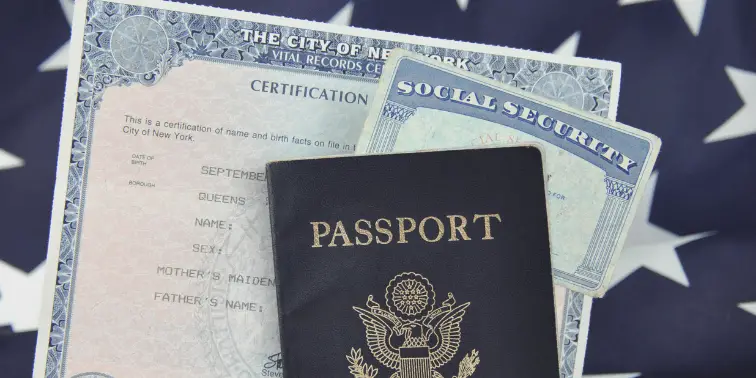
There is nothing more frustrating than having been in a new home several months after a move, and suddenly you realize that you cannot find crucial documents like your birth certificate or last year’s taxes. Perhaps even worse, maybe you find the document but realize that somehow the box has gotten wet, and the document is ruined.
By going through the process below for packing your files, you can alleviate all these concerns.
Table of Contents
Necessary Supplies
There are several supplies that you will need to gather before packing your files:
- File Boxes – You can use several types of file boxes, but I highly recommend going with the traditional cardboard Banker’s Boxes. There are plastic tote-style file boxes as well; however, the more affordable of these boxes can easily crack, and the heavy-duty ones are an expense that adds up if you have a lot of files. The basic cardboard file boxes are a far more economical option, and they get the job done.
- Markers – You’re going to label each box with its contents, as well as a box number. I would recommend a chisel tip Sharpie, but any black permanent marker will suffice.
- Shrink wrap – Shrink wrap is affordable, and it is excellent at keeping dirt and moisture off your belongings. You’ll use this to make sure your files stay perfectly dry in case of any accidental spills, an unfortunate moving day rainstorm, or any other number of ways your boxes could get wet.
Inventory, Inventory, Inventory!
The first step before sealing anything into boxes is to take a thorough inventory of your paperwork. You should know precisely every essential document that you have and where it is.
If you want a rudimentary checklist, you can use a pen and pad of paper. I would, however, highly recommend taking the extra care to use an Excel or Google Spreadsheet. Doing this will ensure that everything is legible, orderly, and can even be accessed from any computer or mobile device you own.

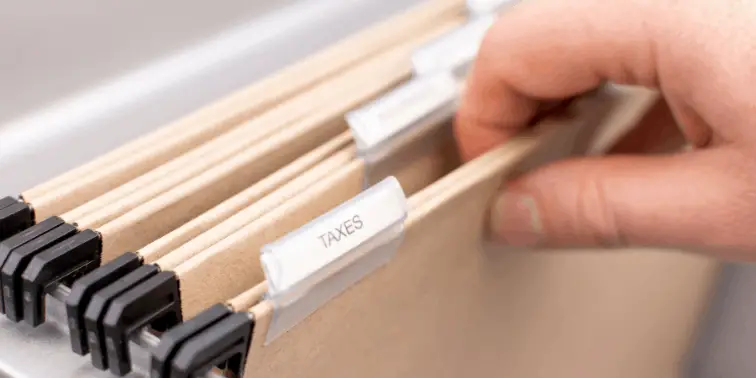
To get started taking your inventory, find all the files in your home. Group them however you like, but it is probably easiest to group them by file type to include in the same box. For example, if you have copies of previous years’ taxes, group them together. Vital records, such as birth and marriage certificates, should be grouped together.
On your spreadsheet, take note of each important document. To simplify this process, you may find it is easiest to place similar documents into a manila folder and inventory the folder itself. Label it “Medical Bills,” for example, then on your spreadsheet, input “Medical Bills.”
After all files and folders have been labeled and added to a spreadsheet, you are ready to start putting them in boxes, which will be detailed shortly. When putting them in the boxes, I suggest going back to the inventory spreadsheet and adding a box number to indicate in which box each is located.
While you will also be labeling the box with a description of its contents, it is a good practice to label each file box with a box number and adding that box number to the spreadsheet next to each item contained in that box.
Now that your inventory sheet is started, it’s time to start packing.
Boxing and Labeling
Start by placing your files into the first box. To save on the number of boxes, you’ll want to add as many files to each box as you can, but also take care not to split categories up among separate boxes if possible.
For example, if you’ve filled the first box three-quarters of the way with tax returns and receipts, it may not make sense to add medical bills to this box if it means you’ll have to put the rest of these bills into a separate box. It just makes the process of finding what you are looking for later much more manageable when things stay neatly grouped.
With the box filled, put the box lid on. At this point, remember to label the box with what the contents are and write “File Box 1” so that you have an identifier for this box. You should then add this box number to your spreadsheet next to each item you’ve put inside Box 1.
Repeat this process until all of your paperwork is in neatly labeled and numbered boxes and your inventory sheet is updated for each box. You could do the step that we are about to discuss after each is filled, but the process goes smoother if you focus on one task at a time.
Protect Your Documents
Now that your files are all in their boxes, labeled and inventoried, it’s time to get out the roll of shrink wrap.
Start by stretching out a couple of feet worth of shrink wrap and place the first box on it lengthwise. You’ll now want to use the roll to wrap around the box at least 4-5 times along its length. Doing this means the shrink wrap should now cover the top, front, and back of the box.
Next, take the roll of shrink wrap and repeat this process, but wrap around the box’s width. Just as when you wrapped in the lengthwise direction, you’ll want to go around 4-5 times to create a robust and water-tight barrier.
Wrapping around the box’s width, you may need to repeat this process a second time to cover the whole thing, depending on how large of a shrink wrap roll you are using.
With the box covered, use your hands to flatten any seams and ensure there are no gaps where any box surfaces have been missed. Once you are satisfied that this first box is now immune to the elements, repeat the same process for each file box.
Loading the Truck
One thing that is easy to overlook during a stressful move is the order in which the moving truck is loaded. You will likely need at least some of your essential files very soon after arriving at your new home. Things like an apartment lease, mortgage documents, or any other critical documents are highly likely to be needed in the first couple of weeks after your move.

Because of this, it’s a good idea to set these file boxes aside to be loaded last. Last on the truck means they will be the first boxes off the truck. This detail is vital to ensure that you get your files off the truck and into their proper home at the beginning of the unloading process before becoming weary and potentially careless from exhaustion.
For an even better solution, you can transport these boxes in your car if you are driving your vehicle in addition to the moving truck. This option may not be possible if you’ve got a pile of twenty file boxes, but for a smaller number, most vehicles should have no problem fitting these in the trunk.
Final Thoughts
It is simple to pack your files for moving safely, but you must not rush through the process. With many everyday household items, packing quickly is preferable, but in this case, you want to take the extra time to ensure you are adequately protecting your paperwork.
In addition, always remember to take that extra step to keep an accurate inventory of which files you have and in which box you have packed each of them.
Not only is it frustrating to lose or have damaged a critical document, but often it is both time-consuming and costly to get replacements on certain legal documents. Save yourself the potential future headaches and pack your files with care.

