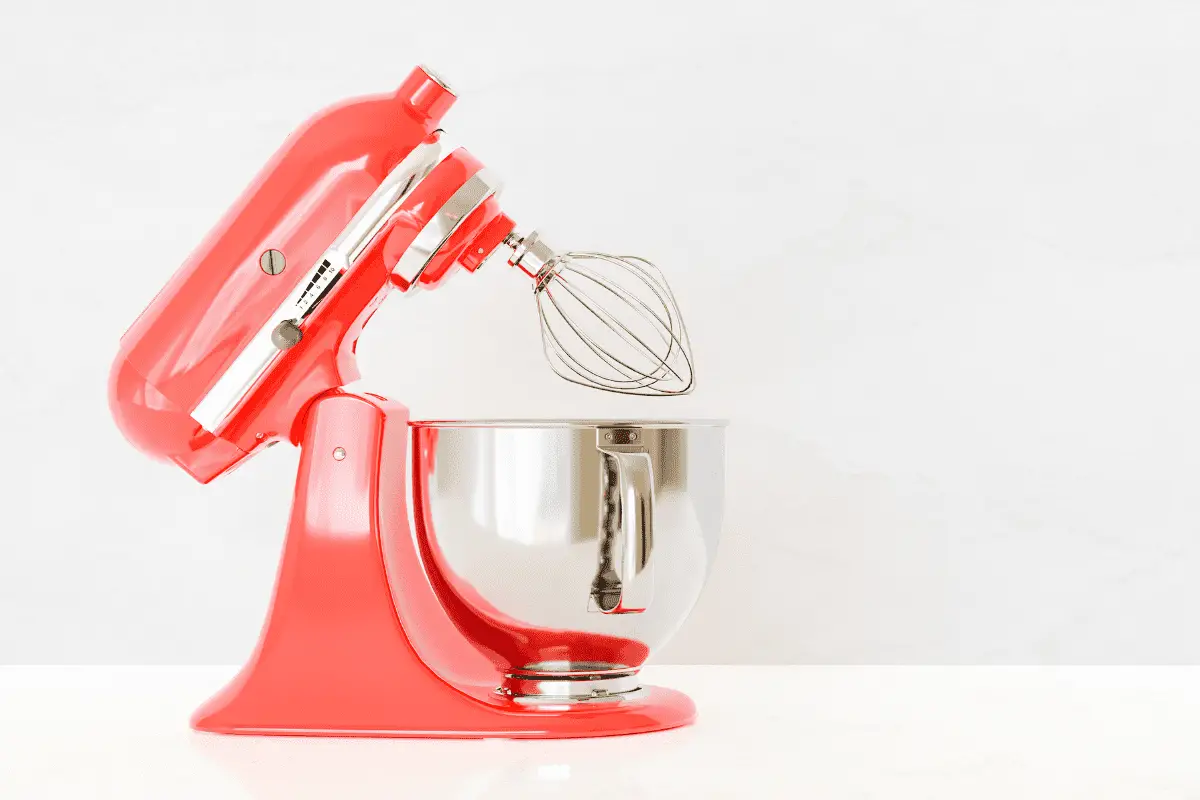
Here’s the thing: KitchenAid mixers are expensive. That’s just to be expected with a premium brand. They last a long time, but they can be incredibly expensive to replace if damaged. As such, you’re going to want to pack them up with care during a move to not only avoid damaging the attachments and primary components but also prevent unsightly scratches.
In this article, we’ll show you how to pack a KitchenAid mixer for moving in six easy-to-follow steps. Grab that packing paper and let’s get to work!
This article contains affiliate links. If you buy something using these links I may earn a commission. Thanks!
Table of Contents
You’ll Need
Most of these items are supplies that you should have plenty of on hand when you’re packing. All of them are packing materials that you’ll need to pack most of the things (glasses, dishes, etc) in your kitchen.
- Packing paper, newspaper, or towel
- High-quality packing tape
- Packing box
- Bubble wrap
- Permanent black marker
Step 1: Remove All Attachments
With the KitchenAid mixer on a flat surface, start the packing process by removing any and all attachments from the appliance. This includes the beater, the dough hook, the bowl, the juicer, the ice cream maker, and any other attachments you may have.
If necessary, wash the attachments thoroughly with soap and water and dry them with a dish towel. You can use the same towel to wipe the surface of the mixer to ensure it’s clean and ready to use out of the box after the move.
Step 2: Wrap the Attachments and the Cord With Packing Paper
Take several sheets of wrapping paper and wrap the attachments individually to protect them from surface damage and scratches that might be caused during the move. For glass attachments, fill the cavity with crumpled packing paper to provide additional support.
If you don’t have wrapping paper, you can instead use bubble wrap or tea towels. Newspaper works, too, but the ink on the newspaper can “bleed” onto the surface of the items and leave a stain that can sometimes be difficult to remove. As such, only use newspapers if you don’t have any other wrapping paper to hand.
Once done, place the smaller attachments inside the mixing bowl and the bigger attachments beside the mixer.
Then, roll up the cord, secure it with a rubber band or hair tie, and bundle it tightly with packing paper or newspaper. This prevents the cord from scratching the surface paint of the mixer when moving.
Step 3: Wrap the KitchenAid Mixer With Bubble Wrap

With the cord and attachments all wrapped up, it’s time to do the same with the mixer itself.
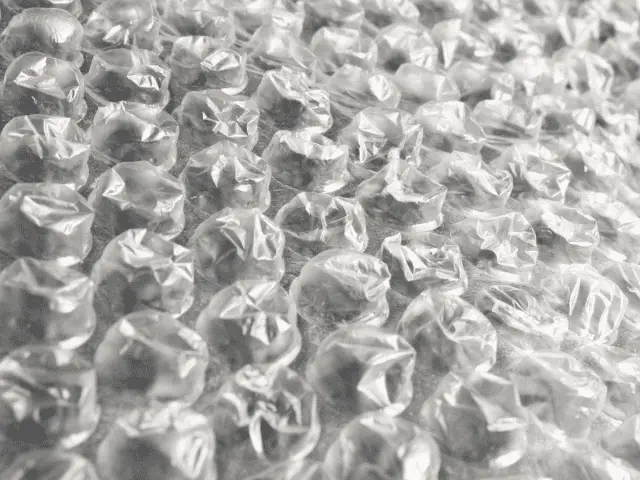
For maximum protection, tightly wrap the mixer with two layers of bubble wrap. Use packing tape to secure the padding if necessary.
If you don’t have bubble wrap, you can use a towel or a furniture pad. Don’t use packing paper or newspaper as they don’t provide enough padding to protect the mixer from hard bumps and accidental falls.
Step 4: Pack the KitchenAid Mixer
You’re almost done!
With the KitchenAid mixer all wrapped up, place it in the original box by itself. If you don’t have the original box, use any medium-sized packing box you have available.
Fill any remaining space with bubble wrap, balled-up newspaper, or packing paper to prevent the mixer from moving around during transport.
Avoid packing paper as they don’t provide enough stability for the mixer, leaving it vulnerable to damage.
Remember: pack the mixer by itself. Don’t place it in a box with any other items. Since it’s heavy, it can easily damage the other items in the box when it shifts during transport.
Place the attachments in a separate box. Since they’re not as heavy as the mixer, you can put them in a box with other items. Just make sure to fill up any remaining space with the packing material you have available.
Step 5: Seal the Box

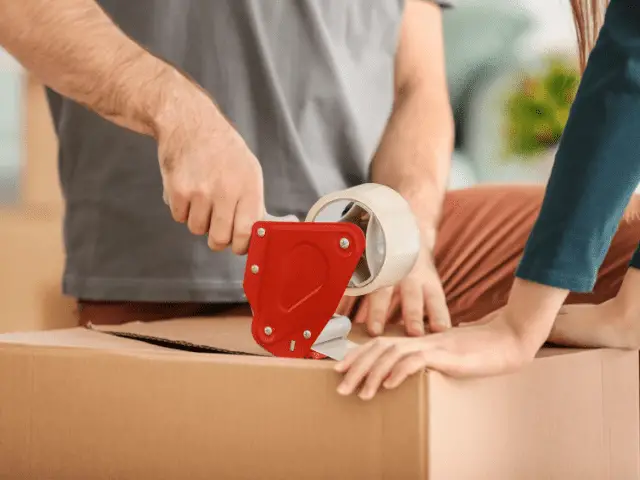
Secure the bottom of both boxes with high-quality packing tape to prevent them from collapsing or bursting open under the weight of the items.
Make an “H” with the tape, going from corner to corner in both directions. Then, make two parallel tape lines over the other tape strips near the ends of the box, going in the opposite direction of the tape in the middle. The tape should look like an imitation of a snowflake or asterisk.
Do the same at the top of the box. Close the flaps, then tape down the horizontal seam in the middle. Proceed to tape the box with the snowflake method.
Step 6: Label the Box
This step is technically optional but highly recommended, especially if you’ve hired a moving company to help you with the move.
With a permanent marker, label the boxes accordingly. You can write “KitchenAid Mixer” or simply “Kitchen Appliance.”
Then, in the middle, write “Heavy” or “Fragile” so you or the movers know to handle the box with extra care during the move. Also, draw some arrows that indicate which side is up so the mixer is always upright.
Final Thoughts
There you have it, folks; our step-by-step guide on how to pack a KitchenAid mixer for moving!
As you can see, the process is fairly straightforward. Wrap the mixer with bubble wrap and the attachments with packing paper, then place them separately in a moving box.
Fill up the crevices with balled-up newspaper or packing paper to prevent the mixer from moving around and getting scratched or damaged during transport.
Seal both ends of the box with tape, and label accordingly.
And that’s it! You’ve successfully packed your expensive KitchenAid mixer. Good luck!
If you’ve found this guide helpful, you might also enjoy our guide on how to pack all of your small kitchen appliances.

