One of the biggest problems with the moving process is that some items may suffer significant blows on the way, which leaves them damaged or nonfunctional.
We often don’t think of baskets being a difficult item to move, but while they not necessarily “break” like glassware, baskets can get bent and warped to the point that they can no longer be used as intended.
If you have some baskets and you can’t wrap your head around packing them, this article has got you covered!
Keep on reading for a brief guide that shows you how to pack baskets for moving in simple steps!
This article may contain affiliate links. If you purchase through one of these links I may earn a commission at no extra cost to you.
Table of Contents
Method 1: Packing a Delicate Basket

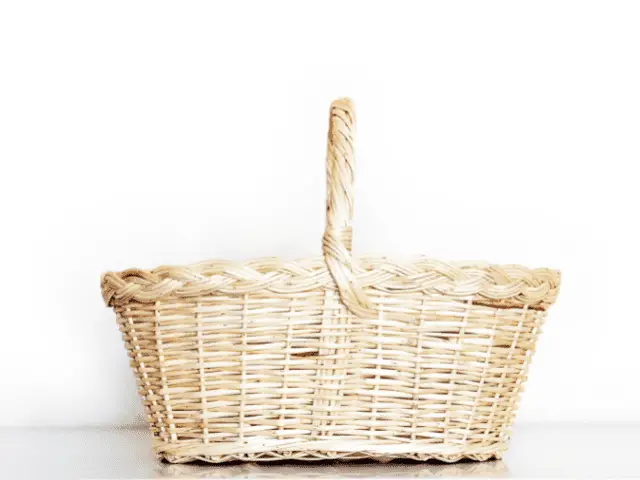
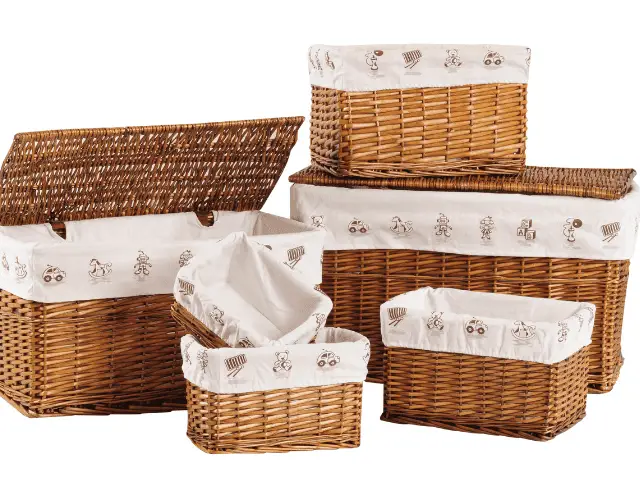
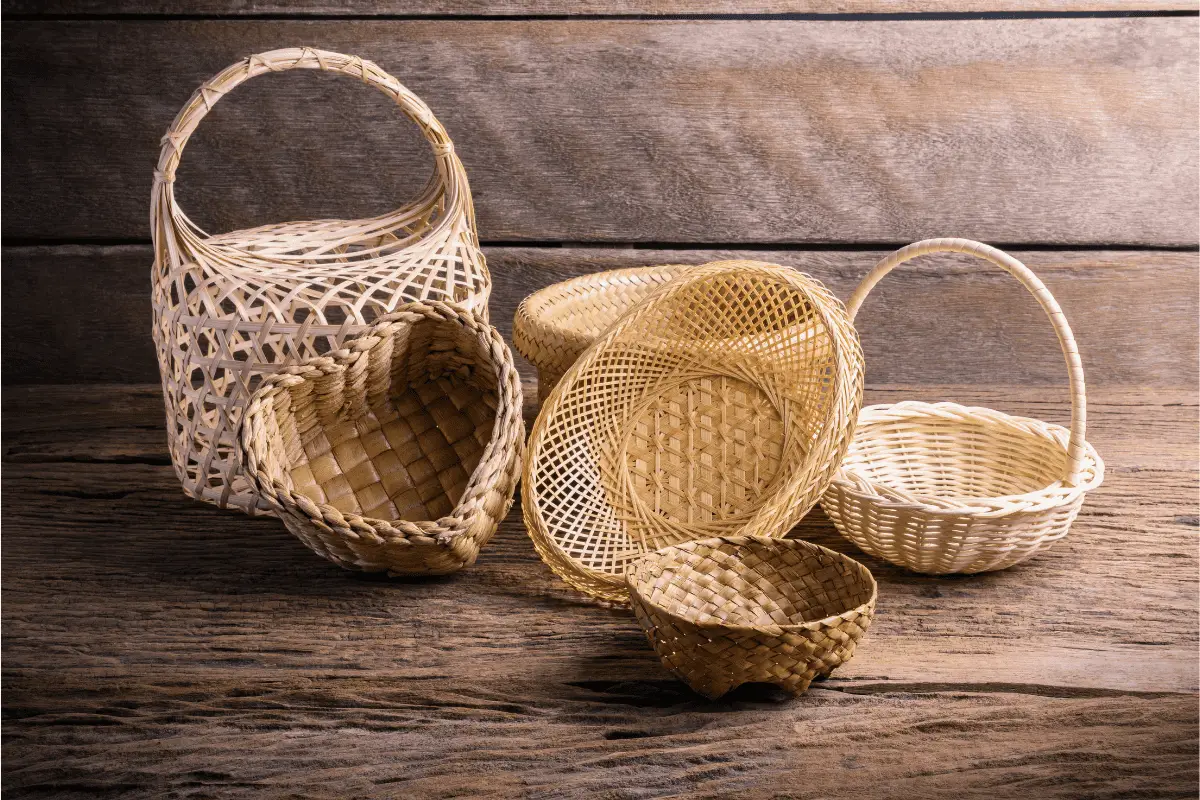
Wicker baskets generally come in two forms. Delicate baskets that are designed purely for decoration and not meant to withstand much ‘use’. The other type of wicker basket is thicker, sturdier (and usually more expensive) and can be used both for decoration and for more functional uses as well.
If the basket is for aesthetic purposes or you want to make sure that it arrives safe, here’s the way to do it:
Step 1: Prepare the Essentials
To avoid the back and forth while packing the basket, it’s recommended that you make sure that all your necessary items for the packing process are ready. Ideally, you should need the following:
- Leftover Paper: Crumble this paper into bulky pieces to absorb shocks and the basket some weight.
- Bubble Wrap: Available online and in office supplies stores.
- Tape: Essential for holding anything together and keeping your package tight.
- Measuring Tape: Any kind will do, whether it’s soft or hard
Step 2: Wrap the Basket in Bubble Wrap
Start by placing some leftover paper inside the basket as an extra layer of protection from the inside.
You can also pack some extra plushies or towels inside the basket. This makes use of the space inside and protects the basket frame.
After that, wrap the basket in bubble wrap by rolling it around the main frame as well as the handle.
You can also wrap the frame alone then wrap the handle separately if you’re short on bubble wrap but the first method is more secure.
As a rule of thumb, make sure that you’ve wrapped at least 2 layers of bubble wrap around the entire basket, then give it a quick check to see if there are parts that are sticking out of the wrap before taping it down.
Step 3: Measure the Basket After Wrapping
Once you’re satisfied with the wrapping, use the measuring tape to measure the height, width, and length of the package.
While taking the measurements, make sure that you’re measuring the distance between the two furthest points in each dimension, then round it up to the higher value.
Step 4: Get a Suitable Box for Packaging
Now that you know the right measurements for your wrapped basket, you can look for a box that is large enough to suit the package.
These boxes can be found in nearly every store around you and you can find a wide range of sizes in office supplies stores. You can also reuse Amazon boxes as long as they’re in good shape to save a few bucks.
While choosing a box, make sure that it’s at least 3 to 5 inches larger than each dimension of the wrapped basket to accommodate the basket and the shock-absorbing filler comfortably.
However, you also don’t want to box too big either. Too much extra space in the box will cause the basket to jostle around too much in the box or you’ll have to use a lot of material to secure it in place inside the box.
Just like Goldilocks, you want to find the box size that’s just right.
Step 5: Pad the Box Properly to Protect the Basket
To protect the package from shocks, make sure that you pad the box with a few pieces of crumpled paper and/or foam.
Ideally, fill the bottom with a layer of the paper, and fill the sides and top after placing your basket.
Step 6: Put the Basket Inside Properly
Carefully put the wrapped basket inside the box and wiggle it so that it sits fine. After that, fill up the sides and the top with the foam or paper to further protect the package.
Lastly, close the box and seal it with tape. With a permanent marker, label the box fragile and something like “Baskets – On Top” so you know (and your movers if you’re hiring a company) not to stack boxes on top of your basket box.
Method 2: Packing a Sturdy Basket

If the basket is already used for transporting items and is pretty sturdy, you can actually rely on its sturdiness while packing, and here’s how to use its volume to pack additional items safely:
Step 1: Pack Some Items inside the Basket
Fill the basket with some soft and shock absorbing items to protect it on the inside, such as plushies or towels.
If the basket has a lid, they can be great for packing small knick-knacks like all those items in your kitchen junk drawer that you should go through and declutter, but let’s be honest, you’re not going to.
Step 2: Wrap the Basket in Bubble Wrap
Wrap the entire basket with bubble wrap, and make sure that you go around the whole item at least once, then tape the wrap to secure it.
Step 3: Wrap the Package in Saran to Hold it Together
To prevent the bubble wrap from coming off, follow it up with an extra layer of saran wrap. Make sure that you don’t wrap the saran too tight because it can start popping the bubbles and make the basket less secure.
Final Thoughts
With that said, you now know how to pack baskets for moving whether they’re delicate baskets that can’t handle the pressure or they’re sturdy ones that can take a beating.
By following this guide depending on the type of your basket, you should rest assured that your basket will withstand the moving process without being damaged.


